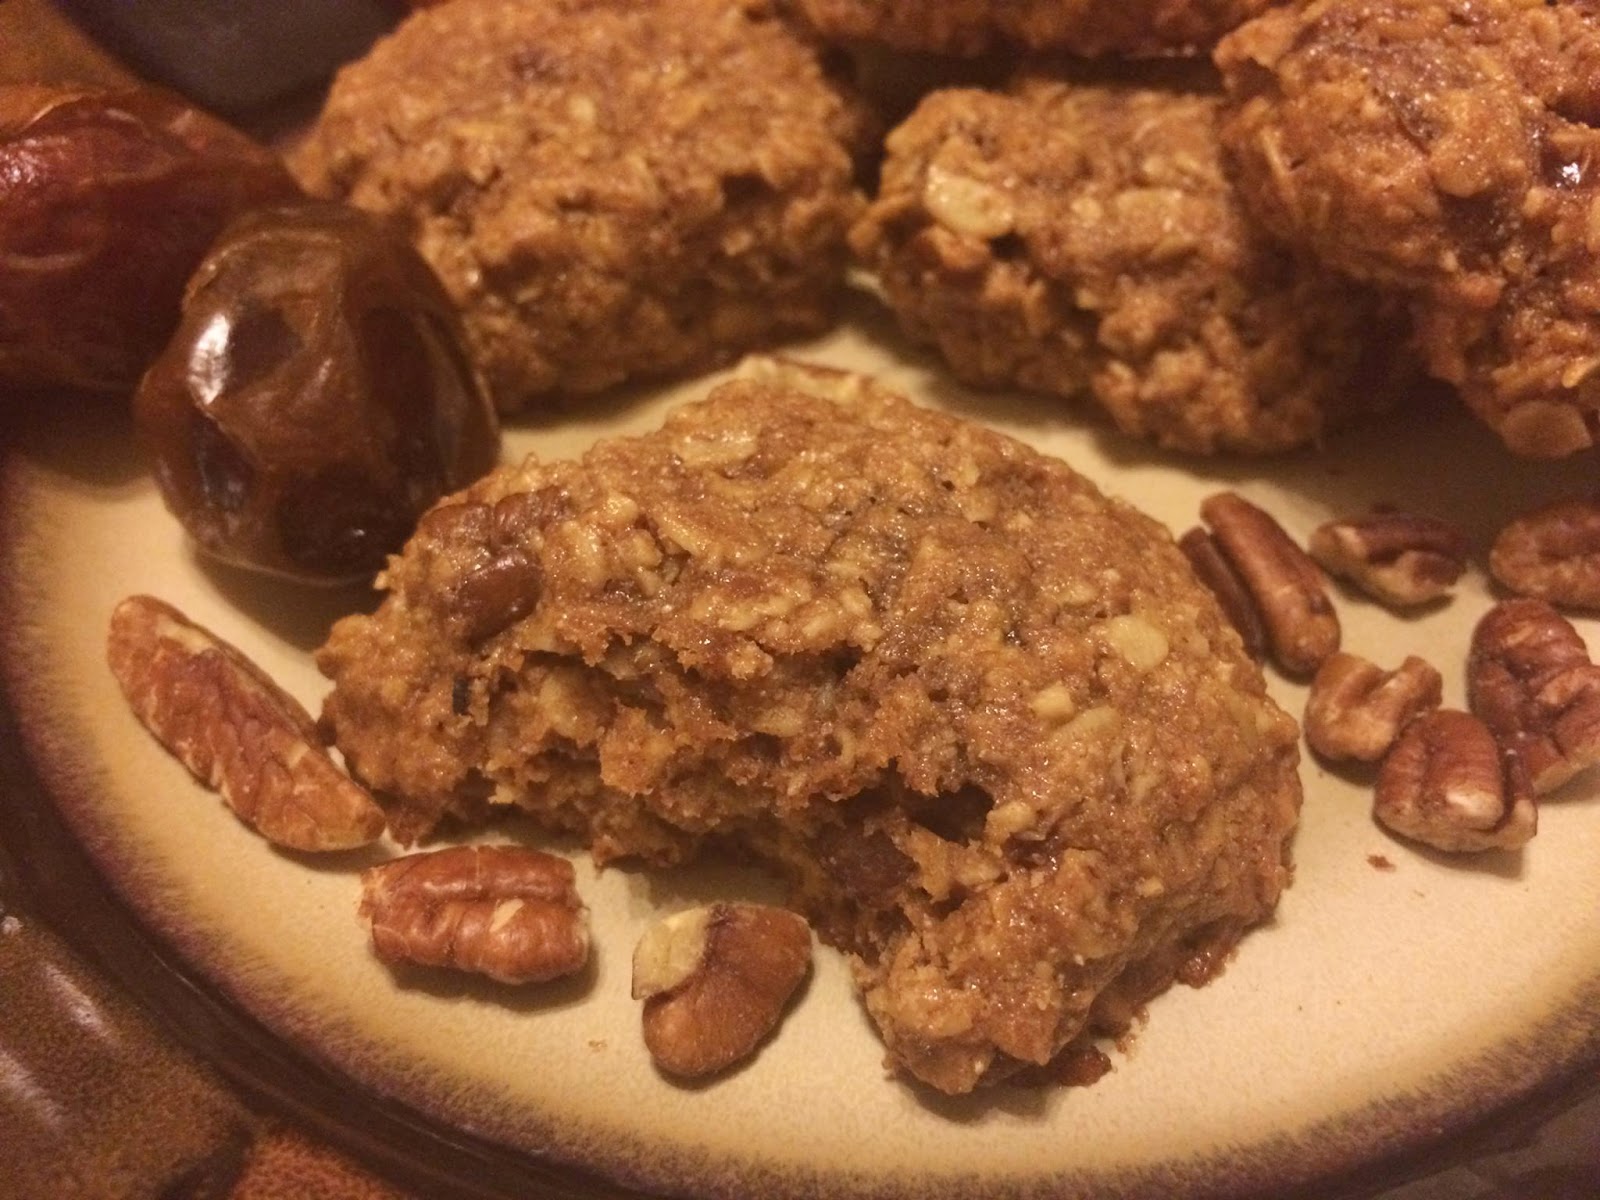
Maple Cinnamon Ginger Oatmeal Cookies
3/4 c coconut oil
1c coconut sugar
1/2 c pure maple syrup (I used grade B)
2 eggs
1 tsp vanilla extract
2 tsp cinnamon
1 tsp ginger
1/2 tsp salt
1 tsp baking powder
1 1/3 c whole grain spelt flour (or gluten free flour blend)
2 2/3 c rolled oats 2/3 c chopped medjool dates* (about 12 dates)
2/3 c chopped pecans or any nut of your choice (roasted pecans add more flavor)
Preheat oven to 350 degrees F.
In the bowl of an electric mixer, beat the coconut oil, coconut sugar, and maple syrup on medium speed until light and fluffy. Set mixer speed to low and add the eggs, one at a time, mixing until combined. Mix in the vanilla.
In a medium sized bowl, combine spelt flour, cinnamon, ginger, salt, and baking powder. Slowly add the dry ingredients to the sugar mixture. Add the oats, chopped dates, and pecans. Mix until combined.
Drop rounded tablespoons of dough onto lightly greased cookie sheets (I grease with more coconut oil or you can use parchment paper instead). Slightly flatten balls of dough with the palm of your hand or the back of a spoon. Bake at 350 for 10-12 minutes or until bottom edges are lightly browned. Remove from oven and let sit for two minutes before removing from cookie sheets. Transfer cookies to a wire rack (if you have one) to cool. These cookies are delicious warm!!!
Makes approximately 2 1/2 dozen cookies.
Enjoy!!!! <3
*dates can be substituted with any dried fruit of your choice, raisins, apricots, figs, etc. There are no limits. ;)


.JPG)


